What you'll need:
A spray bottle
-one that holds a decent amount of water, a cup or more is good.
A measuring cup
Sea Salt
Measuring spoon (tsp or tablespoon)
Some type of conditioner or serum
Gel or Hairspray (optional)
-So, to start off, you'll want to take your measuring cup and fill it up with a cup of warm water.
-Next, fill your measuring spoon with sea salt. You can use anywhere from one teaspoon to one tablespoon of sea salt per cup of water. I find that using 1/2 a tablespoon works best for my hair, but you may need to experiment a bit depending on your hair type.
-Pour the sea salt into the measuring cup and stir.
-After this, i like to pour my mixture into the bottle.
-Next, take your conditioner. This step is crucial because sea salt is very drying to hair. You can use any conditioner or serum you like. It can be cream or liquid. Just squirt or spray a little into your spray bottle. Just eyeball this step, you don't need too much.
-If you'd like, you can also add a little bit of gel or hairspray into your mixture if you'd want a little extra hold.
-Now just screw on your cap, shape the bottle, and you're all set!
Using your sea salt spray
I find that sea salt spray works best when your hair is damp or dry. It won't do much in soaking wet hair. Simply spray a good amount into your hair, root to tip and scrunch. Then, style as desired!
All of the products you need/ might use.

Here are the steps in pictures:


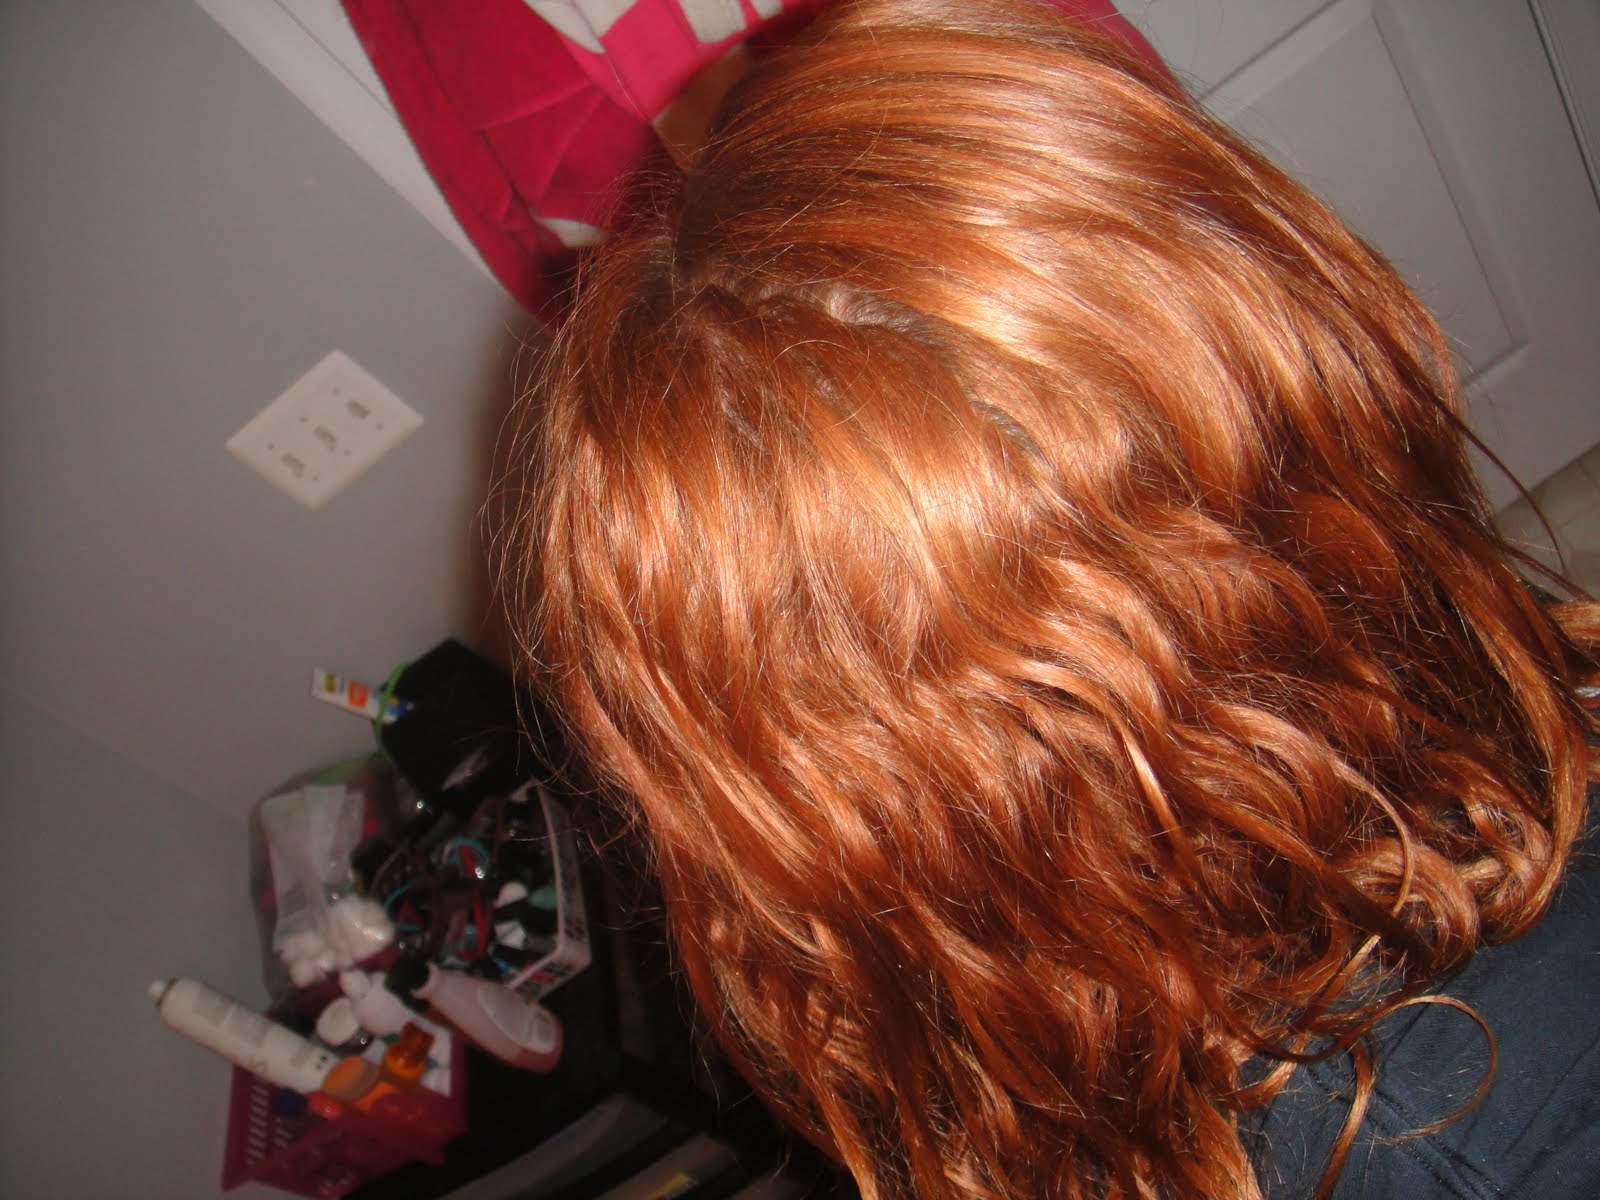
Here are two pictures of what my final product looks like- yours may vary!

Looks grat:) My sea salt here:http://beautyyapona.blogspot.com/2012/01/diy-sea-salt-sprej-pro-surfarsky-vlnite.html
ReplyDelete